
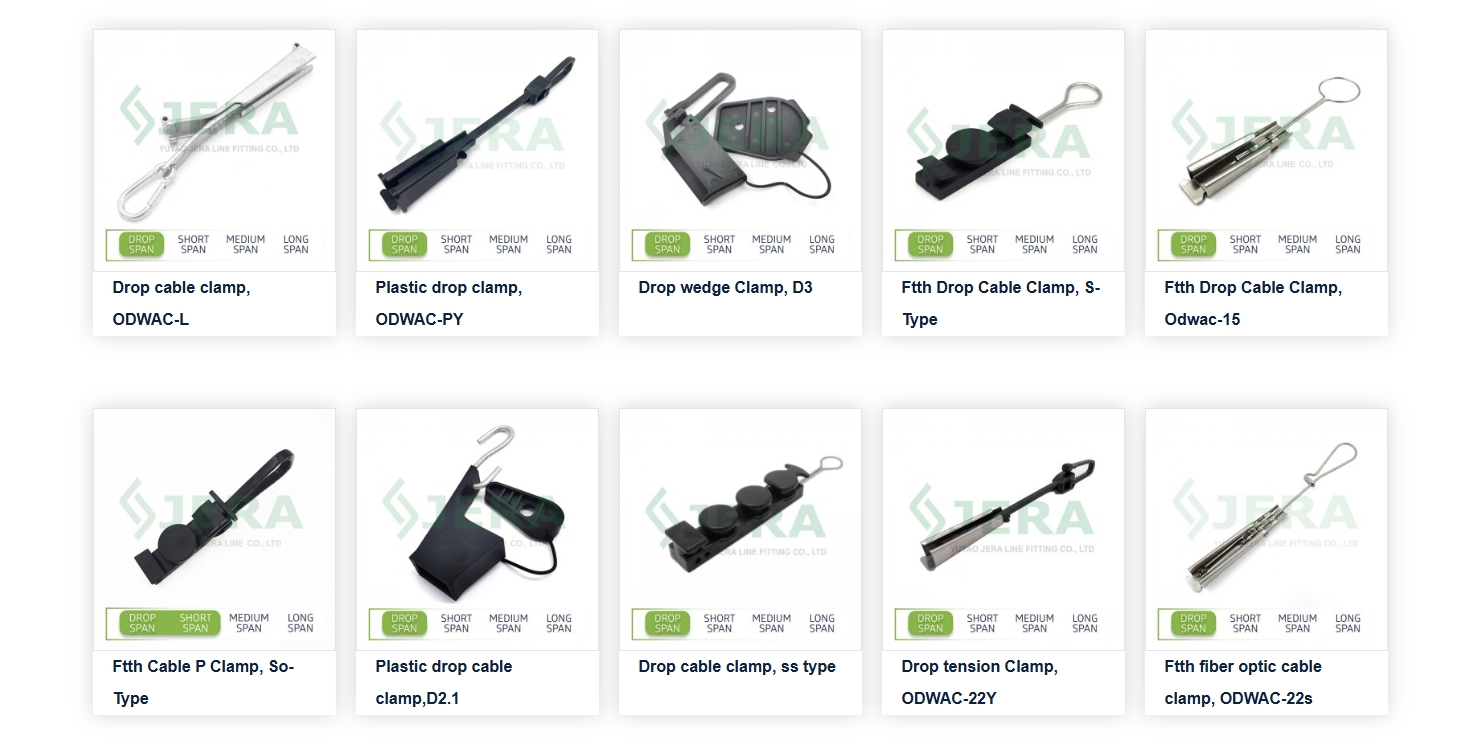
In the rapidly evolving world of telecommunications, fiber optic cables have become the backbone of high speed data transmission, offering unparalleled bandwidth and reliability. A crucial step in ensuring the seamless operation of fiber optic networks is the proper installation of ftth drop cable clamp. These small but essential components securely fasten fiber optic cables to support structures, protecting the delicate fibers from mechanical stress and environmental damage. This blog post will guide you through a detailed, step by step process of installing a drop wire clamp for fiber optic cables.
Tools and Materials Required
Before commencing the installation, it's vital to gather all the necessary tools and materials. You'll need a fiber optic specific wedge drop wire clamp, which is designed to accommodate the unique structure and sensitivity of fiber optic cables. Additionally, you'll require a fiber optic stripper, precision cleaver, fusion splicer (if splicing is involved), optical power meter, torque wrench, safety gloves, and safety goggles. The fiber optic stripper is used to carefully remove the outer jacket and buffer coating without damaging the fiber, while the precision cleaver creates a clean, flat end for optimal signal transmission.
Step - by - Step Installation Process
Step 1: Cable Preparation
Begin by measuring the length of the fiber optic cable required for the drop connection. Ensure that you leave some extra length to account for any adjustments during installation and potential future maintenance. Using the fiber optic stripper, carefully remove the outer jacket of the cable, exposing the buffer tube or individual fibers. Next, strip the buffer coating from the fiber, typically using a specialized buffer tube stripper. After stripping, clean the fiber thoroughly with isopropyl alcohol and a lint free wipe to remove any debris or contaminants. Once clean, use the precision cleaver to create a perpendicular end - face, which is essential for minimizing signal loss during connection.
Step 2: Clamp Selection and Positioning
Select a drop wire clamp that is compatible with the type and diameter of your fiber optic cable. Different clamps are designed for various cable structures, such as loose tube or tight buffer fibers. Identify the optimal location on the support structure, such as a utility pole or building wall, for installing the clamp. The position should be chosen to minimize Stainless steel banding and ensure that the cable will follow a smooth, unobstructed path. Clean the installation surface to remove any dust, dirt, or moisture that could affect the clamp's grip.
Step 3: Clamp Installation on the Support Structure
If the Aerial drop wire clamp comes with mounting hardware, such as screws or bolts, use the torque wrench to attach it firmly to the support structure. Follow the manufacturer's specifications for the correct torque setting to avoid over tightening, which could damage the clamp or the support surface, or under tightening, which might lead to an insecure connection. For clamps that use adhesive or other alternative mounting methods, carefully follow the provided instructions to ensure a secure and long - lasting attachment.
Step 4: Cable Insertion into the Clamp
Gently guide the prepared end of the fiber optic cable into the wedge drop wire clamp. Take care to ensure that the fiber is not kinked or bent sharply during this process, as even minor bends can cause significant signal degradation. Some clamps feature specialized grooves or holders to keep the fiber in place. Make sure the cable is properly seated and centered within the clamp, with the cleaved end extending out of the appropriate port if further splicing or termination is required.
Step 5: Clamp Tightening and Cable Securing
Using the appropriate tools, gradually tighten the FTTH cable clamp around the fiber optic cable. Apply just enough pressure to hold the cable securely in place without squeezing or deforming the fiber. After tightening, perform a gentle tug test to confirm that the cable is firmly held by the clamp. If the installation involves splicing the fiber optic cable to another cable or a connector, use the fusion splicer to join the fibers together, following the manufacturer's instructions for proper alignment and splicing parameters. Once spliced, use an optical power meter to test the signal strength and ensure that there are no significant losses.
When it comes to sourcing high - quality drop wire clamps for fiber optic cables, Jera Line, a renowned Chinese factory, stands out from the competition. With a focus on precision manufacturing, Jera Line produces a wide range of clamps designed to meet the diverse needs of the telecommunications industry. Their fiber optic specific drop wire clamps are engineered with meticulous attention to detail, using advanced materials and manufacturing techniques.
Jera Line's clamps are constructed from durable, corrosion - resistant materials that can withstand harsh outdoor environments, ensuring long - term reliability. The company adheres to strict quality control measures at every stage of production, from raw material inspection to final product testing. This commitment to quality ensures that each clamp meets or exceeds international standards, providing users with peace of mind and confidence in their installation.
In addition to quality, Jera Line also offers competitive pricing and excellent customer service. Their team of experts is always available to provide technical support and advice, helping customers choose the right clamps for their specific projects. Whether you're a large telecommunications company or a small - scale installer, Jera Line has the products and expertise to meet your needs.
In conclusion, the installation of a drop wire clamp for fiber optic cables requires careful planning, the right tools, and a precise execution. By following the steps outlined in this blog post and choosing high quality clamps from trusted manufacturers like Jera Line, you can ensure a successful installation that will provide reliable, high speed data transmission for years to come.
Post time: Jun-16-2025